Showing posts with label mod podge. Show all posts

Wednesday, May 15, 2013

Skylanders Party Planning - Part 5, Mod-Podge Woes, Faux Leather Treasure Chest, Neon Balls, and a Portal Punch Possibility

I'm chunking through my Skylanders Party to-do list - whoo hoo!  The party isn't until July, but we have big vacation out West planned for June, so I'm trying to be proactive.  Next up...

Treasure Chest
This chest was a thrift store find.  It was originally cream with grapevines and a bit of a crackle finish.  I just attacked it with some brown spray paint. 

I LOVE that the crackle finish is still visible but now looks like textured, pebbly leather.  I will pretend that I knew all along that this was how to make spray paint look like leather.  It will be our little secret.  Kay?
Next step is to rub the nail heads and clasp with some dull gold glaze.  Once done, this will hold the party favors and the kids will need to do a treasure hunt to find it.  I all ready wrote and printed the clues.  Sample clue:  Find your way to a very tall tree, around the trunk you'll find clue #3. 

I wrote all the clues in verse 
could anything be worse?
Than someone who thinks she's a poet
and doesn't really know it
that she's not?

For the Wrecking Ball Tongue Grab Magic Element Challenge, I found 2 large flat platters at the Dollar Tree.  I thought that these would work to hold the gems to be grabbed and the shallowness of the lip wouldn't interfere with the game.

To make them more fun, I mod-podged on pictures of Wrecking Ball with 2 different catchphrases. 
I'm having a lot of trouble with my mod-podge lately - lots of wrinkling.  I think that I need to switch to card stock instead of regular copy paper.  So be forewarned - these are not perfect.  I just have to accept this with a sigh and move on.

For Trigger Happy's Coin Toss Tech Element Challenge, I found some red and gold bins at Dollar Tree and hit them with some mod-podge as well.
Wrinkled again!  Doh!  The kids won't mind, right?

And finally, I modified and gussied up the Dollar Tree boomerangs originally shown here with some brown paint and mod-podge.  You can see one in the front here:

Meh.  Not my best work.  But I think that the kids will get a kick out of these more so than a plain old tray, bin, or boomerang.  Note that the boomerangs are meant to fly with a helicopter attached, but the kids tested them and they work just as well sans copter.

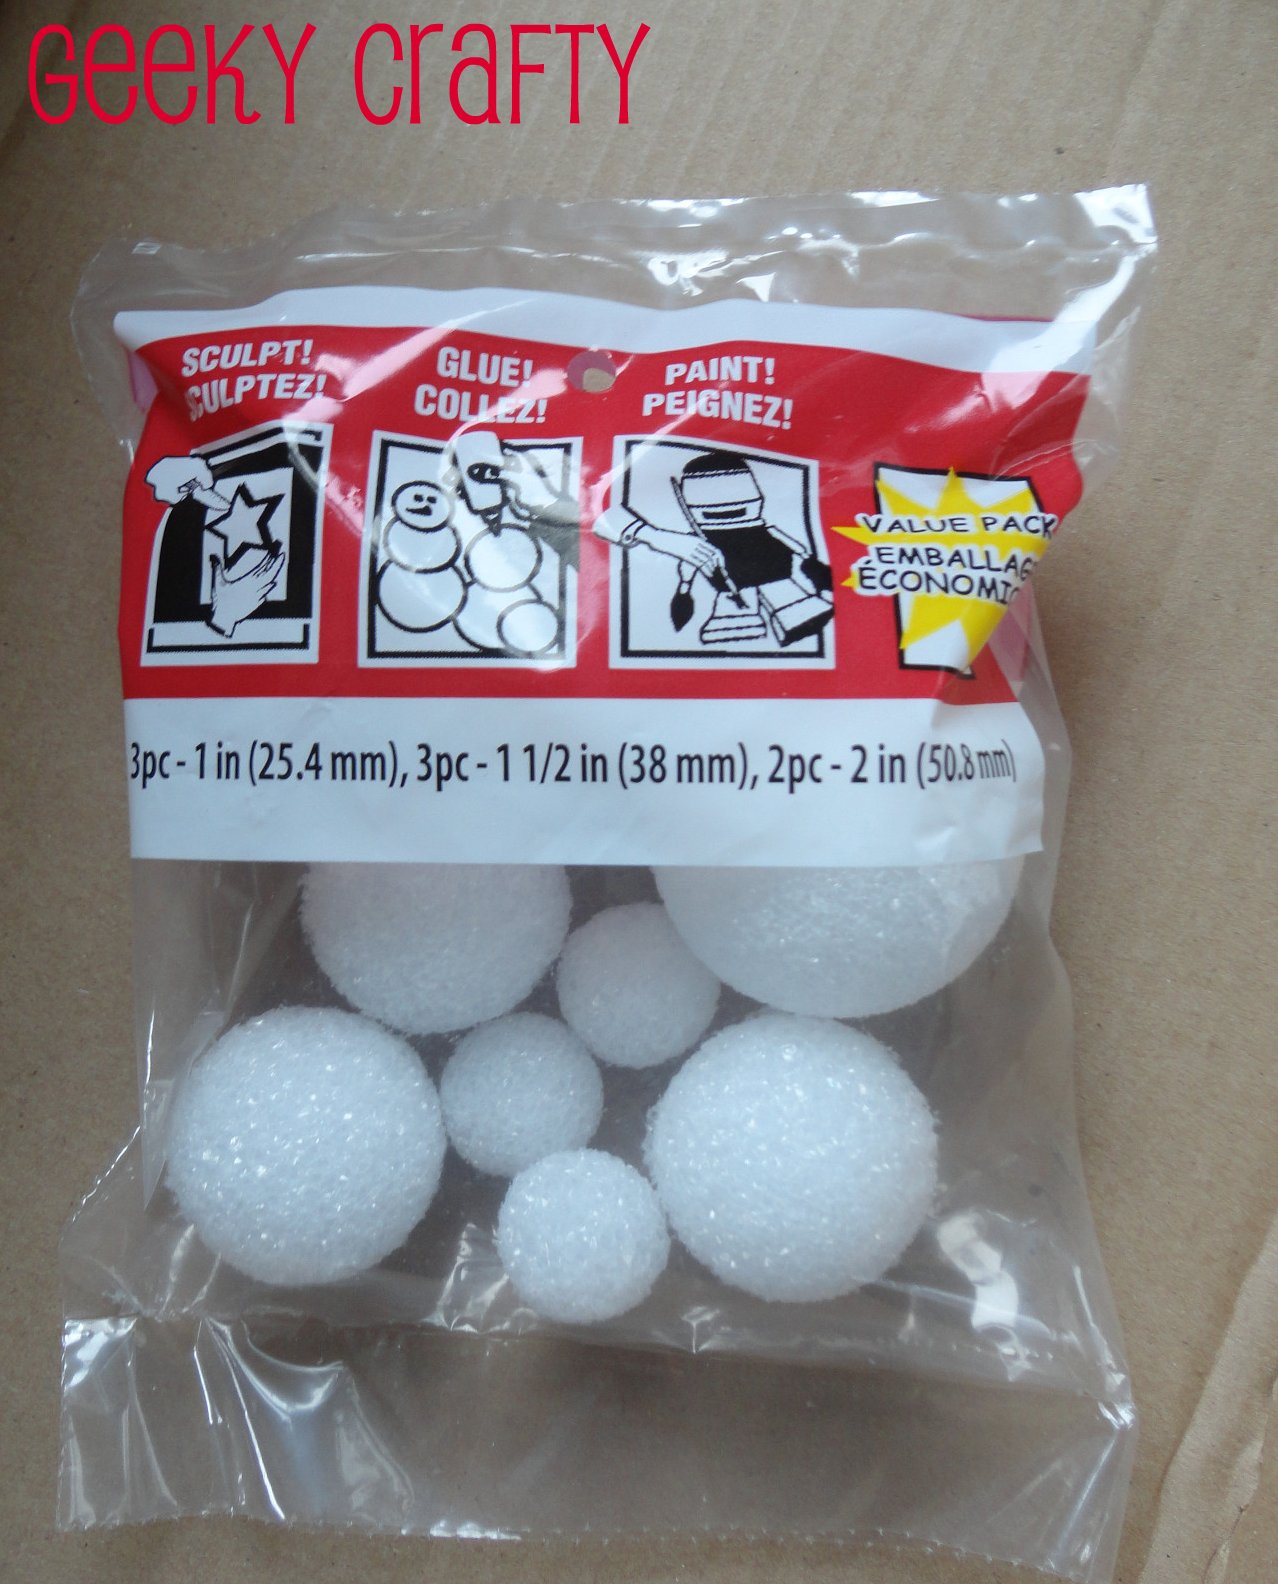
While I had the drop cloth out for the treasure chest, I also took some time to paint some foam balls found at Dollar Tree (again with the Dollar Tree!).  The idea is to use my frosted glass bottles and make funky centerpieces.  I used bright green, orange, aqua, and purple to turn these plain balls into...

...these bright balls.  Aren't they fun?

I might do this again and make a wreath - I love how colorful they are.

And finally, at a store you might have heard of called Dollar Tree, I found this little foam ring, which doesn't look like much, but will hopefully work for my vision of a Portal Punch. 

The color changing pumpkin light fits PERFECTLY in the middle and my punch bowl will be supported on top.  If this works, if will be fabulous!

Friday, April 26, 2013

Glittery Initials

For my daughter's joint-birthday-rock-climbing-party, I thought that it might be fun to have an initial for each birthday girl to place near her cake on the cake table.  In addition to being a fun design element, it would allow for guests to know which cake is for which birthday girl, provide another opportunity to bring in the party palette of blues and greens (the fave colors of each birthday girl), and would later do double duty as bedroom decor and a fun memento of the event for each girl.

For this project, because I wanted the letters to be free-standing and not too big, I searched high and low for just the right kind.  I went to A.C. Moore and Michael's, but was underwhelmed by their options.  Most of their letters seem meant to grace a wreath or hang on a wall, not stand independently.  I trudged off to Joann's as a last resort and was THRILLED to see that they have a HUGE selection of letters, both hanging and standing styles, in a variety of materials, fonts, and sizes.  I found the perfect sized 3-dimensional cardboard letters for each girl and the price was great as well - with a coupon for one, I ended up paying less than $4 total.

Back at home, prep work involved removing tags and stickers from the letters and then assembling a variety of blue and green acrylic paints from my collection.  I painted each letter using lots of different shades for depth.  I painted all sides of the letters just to be safe.

While the letters dried, I used my paint plate to experiment with glitter and sequins to figure out which route I wanted to take for embellishments.  Sequins were just too much, so scratch that.  I then tried aqua glitter thinking that it would accent both the blue and green hues and bring a little unity to each letter while still letting them be different.  It was OK, but not exactly right.  Whitish-clear glitter didn't have enough oomph.  The blue iridescent flake glitter was the CLEAR winner.  It picked up and enhanced the best of the green and the blue for both hues.  My mama always taught me that you can never go wrong with iridescence and she is right every time!

After drying - I gave them overnight, but they were dry much sooner - each letter received a coat of glossy mod podge and a liberal sprinkling of that gorgeous, flaky iridescent glitter.  I let that sit for a bit and then came the top coat of glossy mod podge to seal the glitter in.  (Nothing worse than errant glitter floating about the house.)  I probably should have let the 1st coat of mod podge sit overnight - while applying the top coat, I did end up shifting a lot of the flake glitter around.  If I do it again, I'll wait longer for the glitter to set.
(Mog podge is not fully dry here - those white streaks are gone in the finished project...)

Monday, April 22, 2013

Skylanders Party Planning - Part 4, Mod-Podged Shields and Elixir Bottles

One advantage to having a late, freezing-cold spring like this one is that I haven't been distracted by nice weather and have instead been holed up in the craft room, diligently working on projects for upcoming parties.  Here are the latest projects for the Skylanders party... gussied up Dollar Tree Frisbees for the Undead element challeng and the 1st step to transform Orangina bottles into Healing Elixir bottle centerpieces.

Chop-Chop's Shields
As mentioned in this post, I bought some blue Frisbees with plans to turn them into "shields" for the Undead element challenge.  Chop-Chop has a shield that he flings at his enemies - at the party, the guests will fling the Frisbees at an as-yet-to-be-determined target and hopefully not at each other.  Anyhoo, I found an image of Chop-Chop that I modified in Photoshop Elements.  (I subtracted the background - that is all that I know how to do in Photoshop.  Pathetic, I know.)  I then pasted the image into PowerPoint, fiddled with the size a bit, and printed on cardstock.  Traced a circle with a cereal bowl, cut it out, and got out the mod-podge.  This is how it looked just after mod-podging.

This always happens with mod-podge and I always get panicky ("OMG - this looks terrible!  I've ruined it!"), which is silly, because it always ends up fine.  The Frisbees ended up looking like this...

Perfect and beautiful.  Thank you, mod-podge.  I am pleased.  I will work on my panic issues.

Elixir Bottle Transformation, Step 1
As mentioned here, I was originally going to fill the Orangina bottles with blue fluid and serve them as drinks.

This was before I served said Orangina at my egg hunt and nearly everyone took a bottle home with them.  I thought about starting over and buying more, but Orangina is kind of expensive and, let's be honest here, I really don't need those calories, soooo I modified my approach.  Instead of serving drinks, the 4 bottles that didn't walk will become centerpieces.  I plan to fill them with a funky arrangement of colorful balls on pipe cleaner stems (more on that later).  For the 1st step - turning the bottle blue - I found a cool idea on Pinterest to use diluted glue and food coloring "paint" to make glass look like sea glass.  Note, this treatment will not be waterproof!  It was, however, very easy.

Place 1 part glue and 1 part water in a small cup.  You don't need a lot.  Add liquid food coloring until desired shade is achieved.  Mix well with a paint brush that you won't mind throwing away.  Using the paint brush to paint on an even coat of the glue mixture.  It will look a little blotchy, but don't panic - it will dry to a nice even frosted look.

Love it!  Next step is to make a label that looks like an Ankh for each one.  Photoshop, here I come.  In about 10 hours, I should have figured out how to make a label.  Hopefully.  Probably not, though.  (Seriously, am I an idiot?  Is Photoshop hard for anyone else?)

Sunday, February 17, 2013

Skylanders Party Planning - Part 1, Dollar Store Finds and Paper Straws

So my youngest is turning 7 in a few months and has asked for a Skylanders theme for his party.  My reply - "Awesome!  What's a Skylander?"  You see, he doesn't actually HAVE the Skylanders game or anything.  Chalk it up to the magic of school friends with more video gaming privileges...  Anyway, I am not one to back down from a challenge, so I took to the internet to learn about the Skylanders and hopefully find some ideas that I could translate into a fun, affordable party without too much video game violence.

I was pleased to learn that Skylanders seems like a pretty cute and creative game - yes there is fighting and battle and stuff, but it's pretty mild.  The game boasts lots of bright colors and tons of characters and details to pick from and incorporate into a party.  On the inspiration front, while there are no Skylanders mass market party pieces yet, there are a few great blogs featuring real parties with really creative ideas.  I've used them for inspiration.  Please check them out - they are amazing:

Plucking Daisies
Great creative game ideas and tutorials
Wine and Glue
Clever ideas for a sweet table / candy buffet / candy party favors
Amy's Party Ideas
Beautiful design elements and creative use of printables

It's still early days for me, but I am deep in the planning process.  My kids and I worked together and came up with some great activities - some from the blogs above and some we made up ourselves, each one based on a different element.  Here's our plan...


ELEMENT CRYSTAL CHALLENGE
Collect crystals from each element by completing the challenges at each station.  We may make collection of crystals the key to "unlock" a treasure hunt.  The treasure would be the favor bags.  Still not sure about this. 

AIR
Jet-Vac’s Air Lift:  Keep the balloons in the air by blowing.  No hands.  

LIFE
Zook’s Bamboo Rocket Launch:   Launch foam rockets.  Try to surpass a minimum distance.  Since Zook likes to speak in Haiku, try to write the game sign blurb in Haiku.

MAGIC
Wrecking Ball’s Tongue Grabber:  Snag crystals with sticky hands. 

WATER
Slam Bam’s Ice Crystal Smash:  Freeze crystals in ice balloons.  Remove balloons before party.  Have guests smash ice orbs to release the crystals.

TECH
Trigger Happy’s Target Practice:  Toss coins into a gold bin.

UNDEAD  (Do they have to call it "Undead"?  Wouldn't "Ghost" or "Spirit" be better?)
Chop Chop's Shield Fling:  Try to toss shield (Frisbees) through a wall (crepe paper streamer curtain - will serve as a backdrop for the food table later.

FIRE
Flameslinger’s Fire Arrows:  Try to hit a suspended target (large round disc) with flame arrows.

EARTH
Dino-rang’s Boomerang Toss:  Try to get boomerang to come back to you
 

With these details in place, I have started buying supplies when I see them and let me tell you - I hit the jackpot at the Dollar Trees.  And I say "Trees" plural because I have gone to several different ones in my area and each one had something different / awesome / perfect for this party.  Details below...

Pink sticky hands to look like tongues!
Green rocket launchers to look like bamboo!
We can paint to rockets red to match Zook's!
Boomerangs!  May paint them brown to look more like Dino-Rang's...

Frisbees to use for a shield toss - will mod-podge on an image or Skylanders logo...
Coins to Trigger Happy's coin toss - will paint them shiny gold!
Archery sets for Flameslinger's Arrows - will affix red and gold cello shreds to make the arrow look like shooting flames!
Green balloons for the Chompie stomp - the exact approach is to be determined...  And white and blue balloons for the balloon blow!  These actually came from Five Below.
So as of right now, I have almost all of the supplies needed for 7 of our 8 games, and I've only spent about $40.  Score!

And lastly - this was found at Target - they are catching on to the paper straws and pennants party trends.  I love the color assortment here, although I will swap out the pink for lime green.
Stay tuned for more details as the party comes together!

Monday, January 21, 2013

Family Rules

There are many versions of the "Family Rules" sign out there - this is mine!  I love it in spite of it's flaws and thought I'd share it and some of my learnings.

I used a canvas that I all ready had laying around - not sure about the size, but I DO know it was too small.  I had way more rules than space.  If I ever do it again, I will get a sheet of plywood cut long and narrow.

I painted the whole canvas in advance, which was overkill - I could have just painted the edges and would have been fine.

Using a set of punch out letters and my Cricut, I cut out letters to form my rules.  I really wanted each font to be different.  In retrospect, it probably would have been smarter to use fewer fonts and focus more on making sure that they were readable.  I also should have done more planning ahead to match up fonts and background paper - some of the combos are not bold enough and the words are hard to read.

Using glossy mod podge (if I do it again, I will use matte instead - they aren't kidding when they say glossy is glossy), I liberally applied a layer to the top of the canvas with a foam brush.  Working quickly, I added my 1st layer of paper and then mod podged over it.  Still quickly, I applied my letters and then carefully mod podged again.  You have to be careful not to apply the pdoge too vigorously or you will shift your letters and could also tear your background paper depending on the thickness of your paper.  I repeated this process down the canvas, being sure to overlap the background papers.

You will notice that the paper will start to bubble up in places.  I didn't worry about it because in my experience, that always happens with mod podge and the paper will settle on it's own as it dries.  This was a mistake.  I was operating from experience mod podging hard surfaces.  Canvas is flexible and responds to mod podge differently.  You can't necessarily trust the bubbles to go away.  Most of them did, but some did not - you can see them in the pinkish paper (which also happened to be the lightest-weight paper I used).  If I do it again, I will use something firm as the backing and I will avoid lightweight paper.

But again, I like it even with the flaws.  It's nice to have a personal piece of art work and it's perfect to occupy that spot when it's not otherwise in use for some sort of holiday decor.  Basically, the month of January.

In case you were wondering, here are the rules that I used:
  • Be thankful
  • Forgive and forget
  • Be honest and keep your promises
  • Be each other's best friend and biggest fan
  • Family first always
  • Use your manners
  • Always do your best